Starting from scratch
I get asked this question almost every week. Someone is moving into their first house, or they’ve decided they want to save a bit of money by doing the windows themselves, and they stand in front of the window cleaning aisle in B&Q completely lost.
The truth is, you don’t need a huge pile of kit to clean your own windows well. You need a handful of the right bits. After twenty years of cleaning windows for a living I’ve seen every gadget and gimmick going, and most of them end up in the back of the van collecting dust.
Here’s what I’d put in a starter kit for somebody cleaning their own house.
A decent squeegee
If you only buy one tool, make it a proper squeegee. Not one of those plastic ones off the petrol station forecourt — a proper one with a rubber blade you can change. Aluminium or stainless steel channel, 10 or 12 inch blade for a normal house window.
The difference between a cheap squeegee and a professional one is night and day. A good rubber blade glides across the glass and leaves it properly dry. A cheap one drags, skips and leaves lines you’ll spend the next half hour trying to buff out.
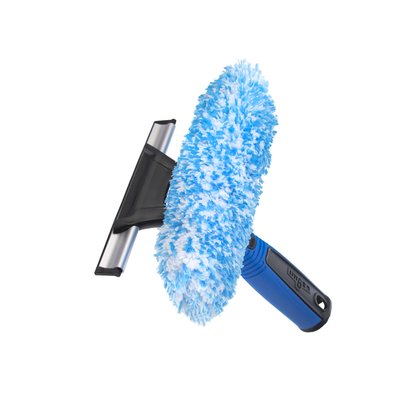
Keep a spare rubber blade knocking about too. Once a blade nicks or wears down, it’ll leave marks no matter how careful you are.
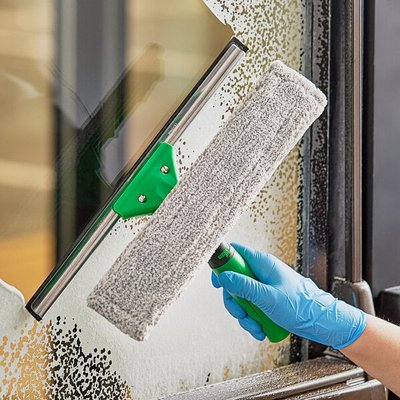
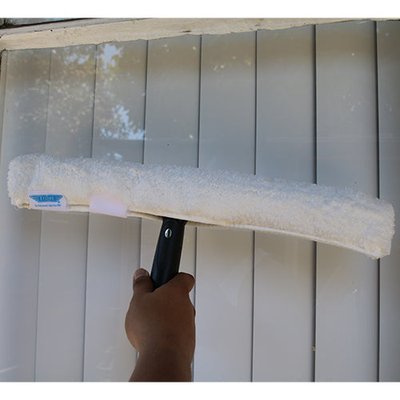
A washer or applicator
This is the T-shaped tool you dip in the bucket and wipe across the glass to loosen the dirt. Most come with a microfibre sleeve that slides on and off so you can wash it between jobs.
A 10 or 14 inch applicator sleeve covers a standard domestic window in one or two passes. Any bigger than that and it becomes awkward to handle on smaller panes.
A bucket
Sounds obvious, but the shape matters. You want a wide, oblong bucket rather than a round one — it lets you dip the washer properly and keeps the bucket stable when you set it down on a window sill. Something around 14 litres is about right for home use.
Scrim or microfibre
You need something to dry the edges of the glass after you’ve squeegeed the main pane. I’ll cover scrim versus microfibre in more detail in another article, but for a beginner I’d start with a pack of good quality microfibre cloths. They’re easier to look after, they wash well, and they don’t leave lint all over dark frames.
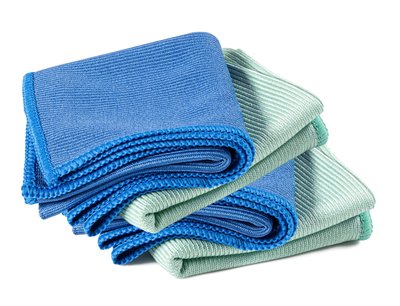
Keep your window cleaning microfibres separate from the ones you use in the kitchen. Once they pick up kitchen grease they’re useless on glass.
Washing up liquid
This one surprises people. You don’t need a fancy chemical cleaner. A small squirt of washing up liquid in a bucket of warm water is what most professional window cleaners use for everyday work. It cuts through the grime, doesn’t leave much residue, and it’s safe on frames and sealant.
One squirt per bucket. Any more than that and you’ll fight with suds all day.
A decent ladder (only if you really need one)
For ground floor windows, you shouldn’t need a ladder at all — a step stool for the top of tall casement windows is plenty. If you’ve got upstairs windows you want to tackle yourself, please read my article on cleaning second-floor windows safely before you even think about it. There are much better options than climbing up a ladder, especially if you’re not used to working at height.
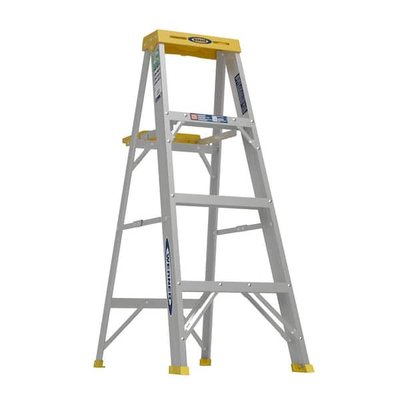
If you do buy a ladder, buy one with proper stabilisers and EN 131 certification. Don’t mess around with bargain bucket ladders — one bad fall and it’ll cost you a lot more than you saved.
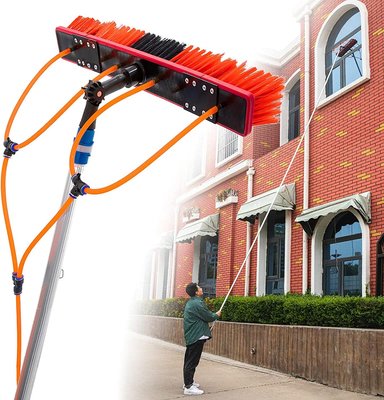
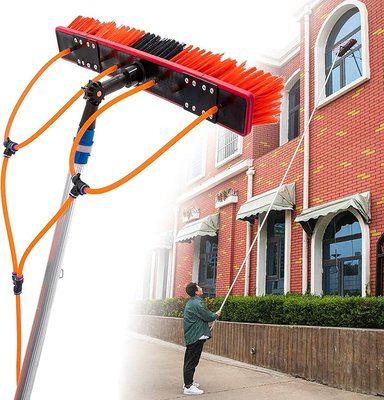
A telescopic pole (the game changer)
If you want to make your life ten times easier without going up a ladder, get yourself a telescopic pole with a squeegee and washer attachment. Modern ones extend to 6 or 8 metres, which is enough for most two-storey houses from the ground.
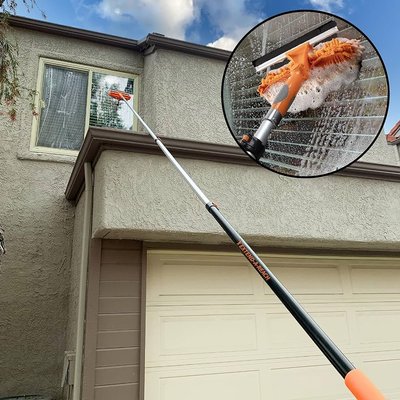
They take a bit of getting used to — holding a long pole steady and getting the angle right on the glass is an art — but once you’ve got the knack, you’ll wonder how you ever managed without one.
What you do not need
This is almost as important as what you do need.
You don’t need a pressure washer for your windows. They’re fine for driveways and patios, but on glass they can force water past the seals and cause problems down the line.
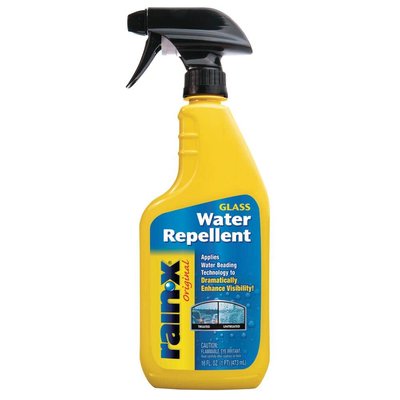
You don’t need branded “magic” window cleaning sprays. Most of them are overpriced washing up liquid in a bottle with a nicer label.
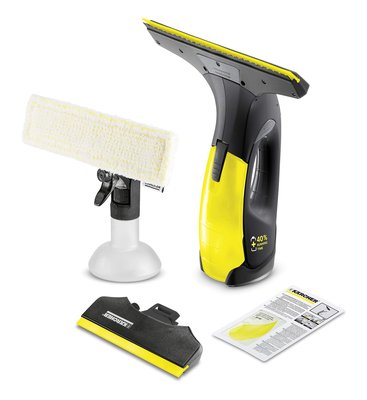
You don’t need a Karcher window vac as your first purchase. They’re actually very good tools — I’ve written a full comparison between them and a squeegee in another article — but for an outright beginner, learning with a traditional squeegee first will make you a better cleaner and you’ll understand what the tools are actually doing.
A sensible starting budget
For a proper starter kit — a good squeegee, applicator, bucket, microfibres and a telescopic pole — you’re looking at somewhere between £70 and £120 all in. That will do the windows of an average three-bed semi for years, provided you look after the kit properly.
Keep your rubber blades out of direct sunlight when they’re not in use — heat warps them. Rinse your microfibres out after every session and let them dry flat. A little bit of care goes a long way.
A final bit of advice
The single biggest mistake I see people making is working in full sun. The water dries on the glass before you can get a squeegee to it, and you’re left with streaks you can’t shift. Clean in the early morning, late afternoon or on an overcast day and you’ll get far better results for far less effort.
Get the right kit, pick your moment, and even a beginner can turn out a professional finish on their own windows.